#EmpowerOutdoors: Making Wild Game Jerky
Originally published in the October 2018 issue of Northern Wilds Magazine.
For some, eating wild game is an acquired taste but, for those who love it, there is nothing else like it. Creating delicious food using meat that was harvested by a hunter, is about as “organic” and free-range as it gets.
Personally, my husband and I are hunters and have a freezer full of meat nearly every year. Between the two of us, we harvest enough meat that we no longer need to buy much from a store. One of our favorite ways to use some of our meat, especially our goose, is to make jerky.
There are a few different methods to make jerky: using an oven, a smoker, or a food dehydrator. We own a smoker, so that is what we prefer, however, I’ll also explain the oven method.
Materials needed:
At least one pound of lean, boneless meat
Smoker or Oven
Large knife and cutting board
Paper towel
Non-Stick Cooking Spray
Plastic bags
Jerky racks
Tin foil
Jerky cure & seasoning kit OR Homemade marinade.
Basic marinade recipe includes:
3/4 cup - Worcestershire sauce
3/4 cup - Soy sauce
1 tbs - Liquid smoke
1 tbs - Garlic powder
2 tbs - Chili powder
1 tbs - Tabasco sauce
1/2 tsp - onion powder
1/4 tsp - pepper
Step 1:
Slice your whole meat, with the grain of the meat, about 1/4” thick.
If meat is frozen, it is recommended to use the refrigerator method to thaw. Typically, it is easier to cut meat into strips when it is still firm, or a tiny bit frozen in the center.
Step 2:
Weigh your sliced meat.
Weighing meat after it is cut will give you a more accurate measurement for mixing up your cure and spices.
Step 3:
Lay down a paper towel and then lay out your strips of meat on top. Use another paper towel to lay over the top and pat dry to remove excess moisture.
Step 4:
Remove paper towel. Mix together your cure and spices based on the weight of meat your are working with.
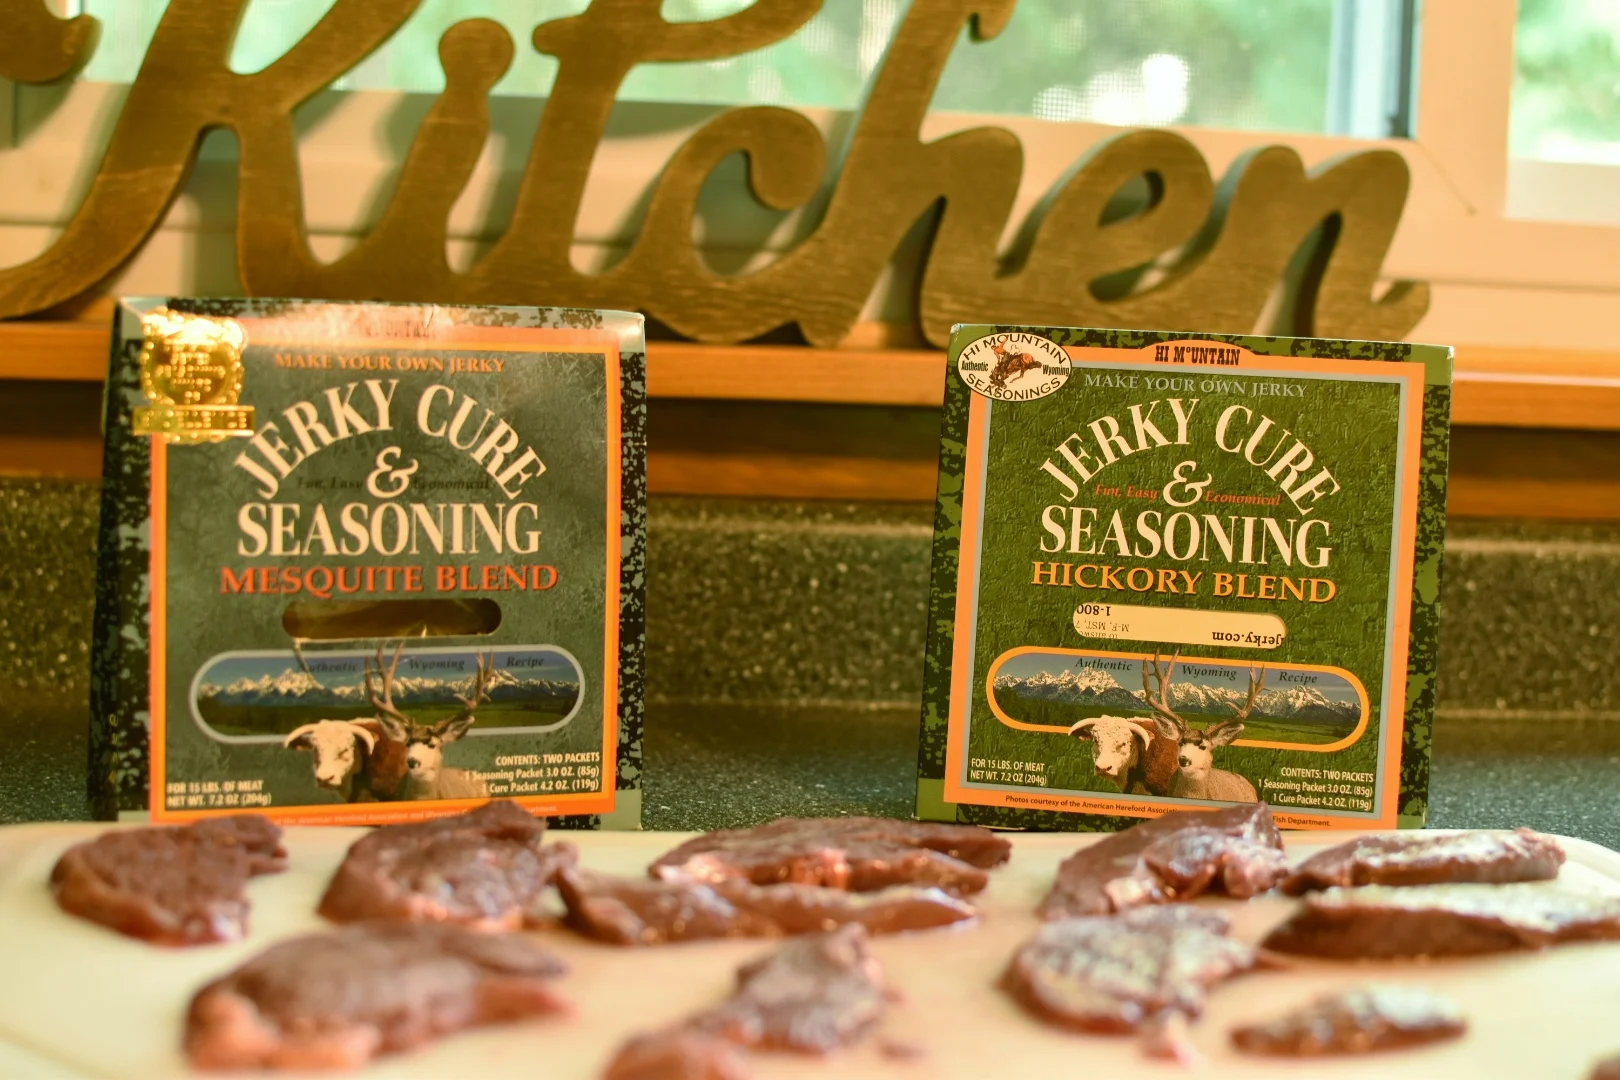
Some folks make their own liquid marinades using worcestershire sauce as a base. My preference, however, is to use a pre-mixed jerky cure and seasoning kit. I use the “Hi Mountain” brand which comes in over 20 different flavors. One package costs $7.99 and is enough seasoning for about 15 pounds of jerky.
Step 5:
Sprinkle the cure and spices mixture onto both sides of the meat. If using a liquid marinade, dip each piece of meat individually so that is is thoroughly coated.
Step 6:
Pile the meat tightly together and either wrap in plastic wrap or seal in a plastic bag. Refrigerate for 24 hours.
Whether using a marinade or a jerky kit, the meat needs to sit in the flavoring, covered, in order to achieve the best results.
Step 7:
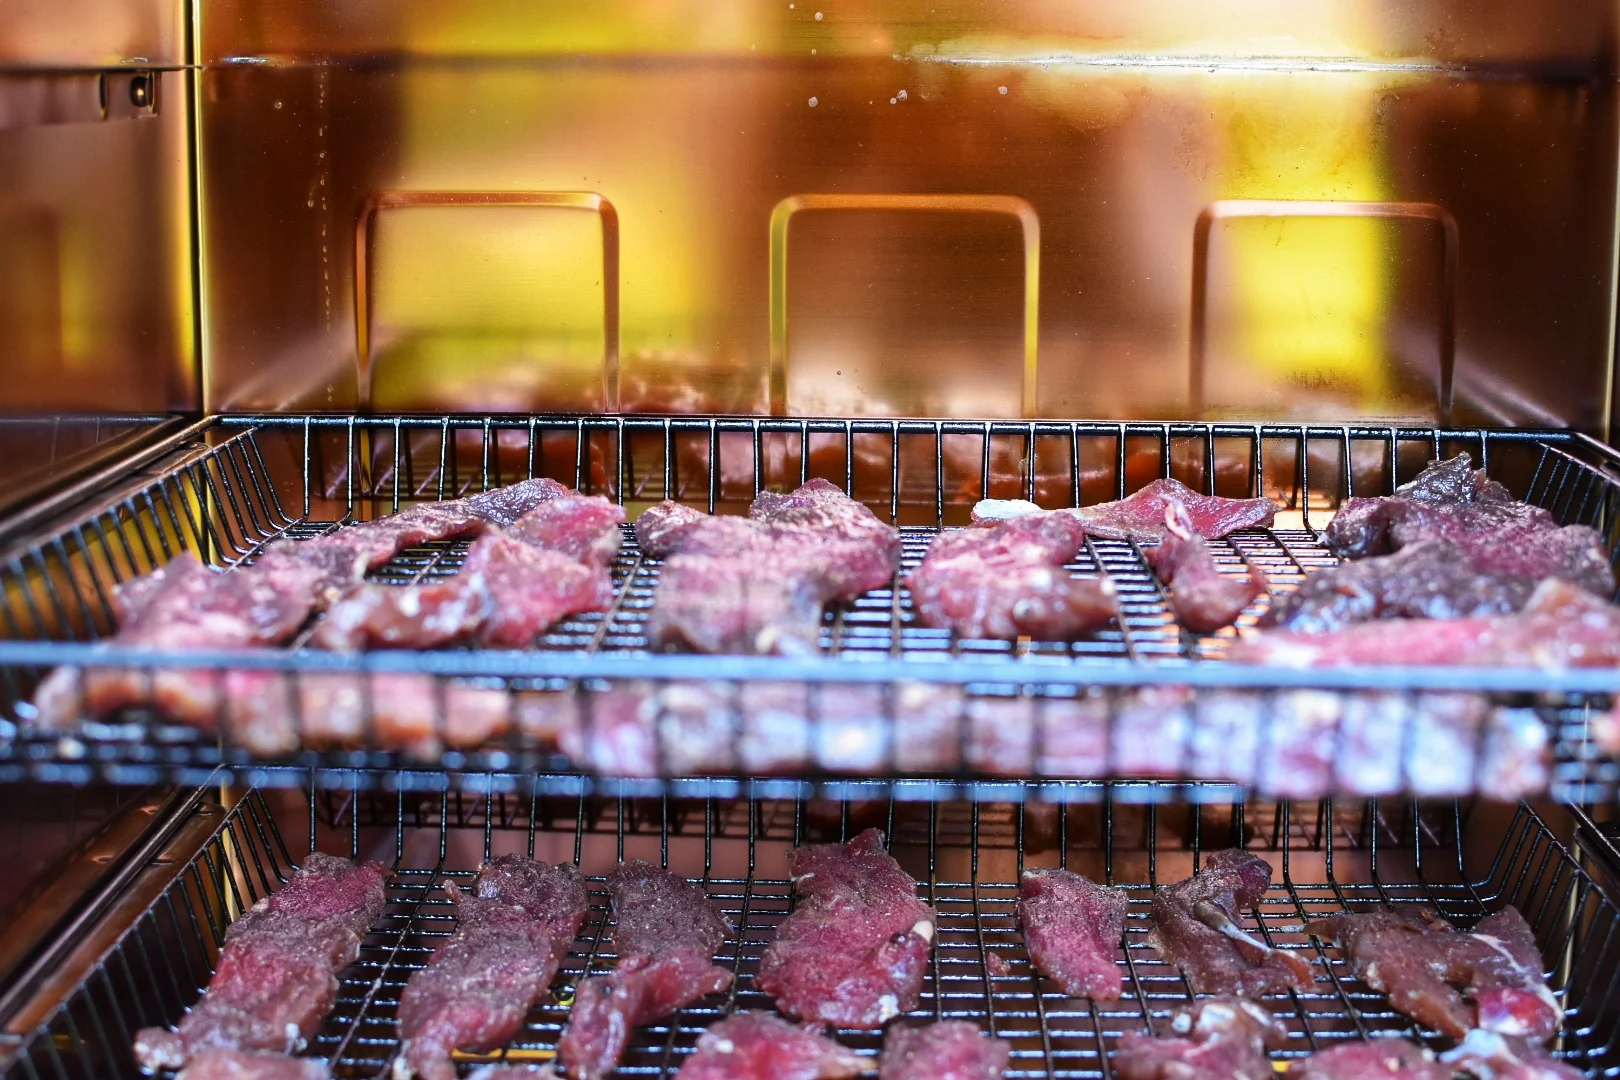
Coat your jerky racks with a non-stick cooking spray. Lay meat on the trays, making sure that the meat doesn’t overlap.
If using the oven, be sure to place foil in the bottom of the oven to catch any drippings.
Step 8:
Using a smoker, keep the temperature between 180 - 200 degrees fahrenheit. Place your racks in the smoker and keep the smoke on for two hours. After two hours, turn the smoke off and cook for another 2-3 hours.
It’s important to note that the jerky does not need to be completely leather-dry. You’ll know it is done when it cracks slightly when bent.
In a oven: Preheat to 200 degrees fahrenheit and bake around 1 hour or 1 hour and 15 minutes. Leave the oven door open just a crack so that moisture can escape.
Step 9:
Remove from smoker or oven and, while it is still semi-warm, place in a plastic bag or vacuum seal and then place in the fridge.
Placing your meat in a plastic ba g will cause a little bit of condensation within the bag, but will maximize the flavor. Personally, we keep our jerky refrigerated or frozen so that it remains fresh longer.
There you have it. Homemade jerky snacks to enjoy on all of your upcoming outdoor adventures!


